Dove Wreath Kits

Doves1

T’is the season to be jolly! Now December has arrived, I feel that I can storm full force ahead into Christmas. Bask in the glow of twinkling lights, bake to my hearts content and fully embrace the magic of the season.

I’ve been making these petite wreaths for several years and have finally gotten organized enough to offer a kit so you can indulge in some Christmas crafting. Simple and elegant, these wreaths are easy to make. Some require a little more time than others, but the end result of each is beautiful.

BUY NOW FROM OUR ONLINE SHOP!

Free Shipping in the continental United States!

However, for those of  you who are already feeling overstretched and are in manic panic mode – completed wreaths are also available for purchase.

The classic color palette of red and white creates a wreath that is timeless and simple. The fronts of the doves are constructed of leather and sewn to a felt back. The grapevine wreaths provide the perfect understated background allowing the doves to capture all the attention.

KIT DESCRIPTIONS:

3dove'


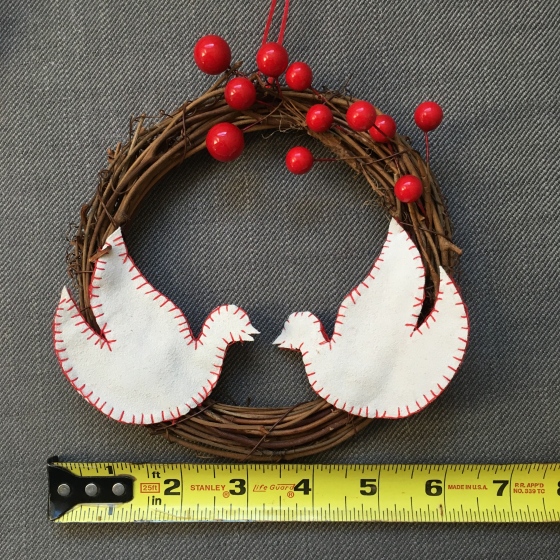
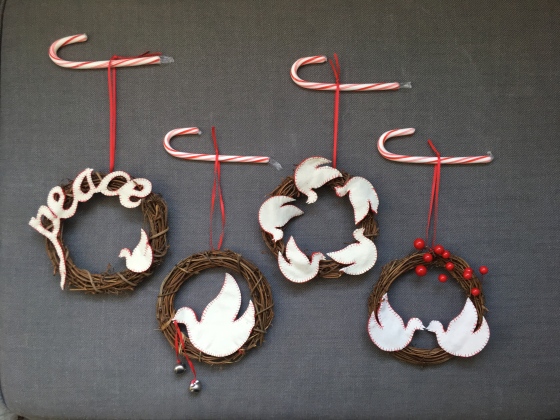
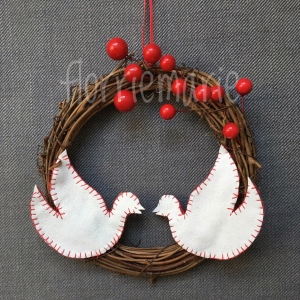
Double Dove with Berries Wreath Kit

  • One 6”(15.25cm) Grapevine Wreath
  • Leather
  • Red Acrylic Felt
  • 18”(45.75cm) of ⅛”(3mm) Red Ribbon
  • Three Red Berry Stems


2dove


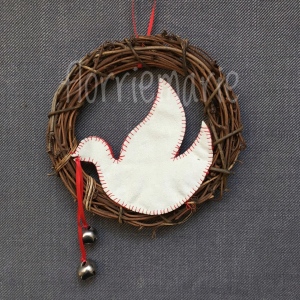
Dove with Bells Wreath Kit

  • One 6”(15.25cm) Grapevine Wreath
  • Leather
  • Red Acrylic Felt
  • 24”(61cm) of ⅛”(3mm) Red Ribbon
  • Two ½”(13mm) Silver Jingle Bells


4dove


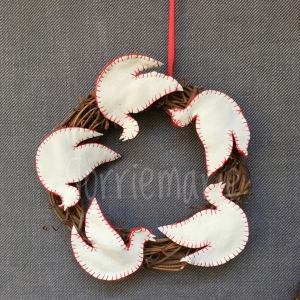
Five Dove Wreath Kit

  • One 6”(15.25cm) Grapevine Wreath
  • Leather
  • Red Acrylic Felt
  • 18”(45.75cm) of ⅛”(3mm) Red Ribbon


1dove


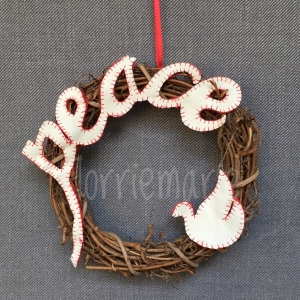
Peace Dove Wreath Kit

  • One 6”(15.25cm) Grapevine Wreath
  • Leather
  • Red Acrylic Felt
  • 18”(45.75cm) of ⅛”(3mm) Red Ribbon


0dove

Pomme: A Knit Collection

Here’s a video preview with all the patterns from Pomme, some of the knits are available now at our Ravelry Shop. Follow us on the blog and our YouTube channel for more!

Pattern: Cortland Fingerless Mitts| Pomme

unnamed-2unnamed-1unnamed

Click here for the Cortland Fingerless Mitts $5.00 for the PDF download on Ravelry 

The first pattern from our collection Pomme is out today!

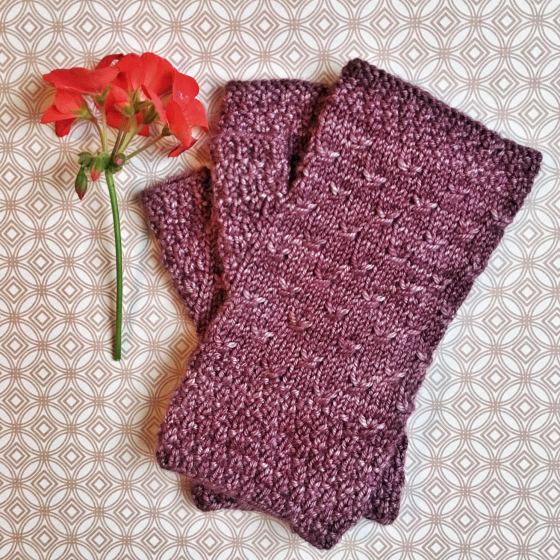
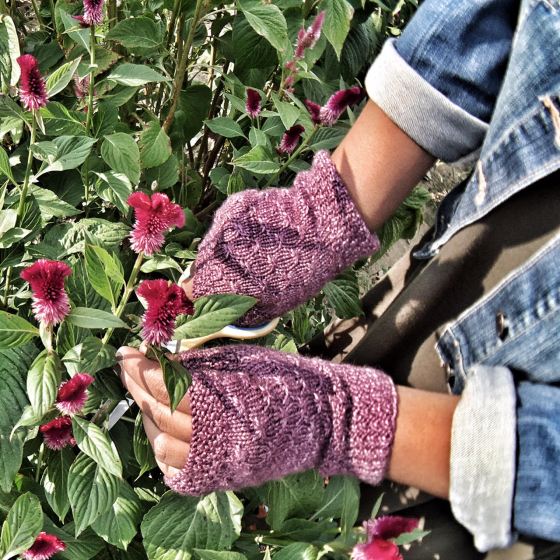
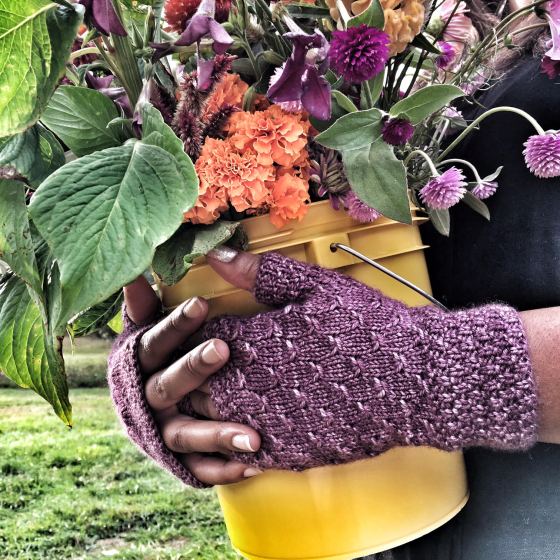
The Cortland Fingerless Mitts are a perfect blend of form and function. They bring warmth and comfort while leaving fingers free to knit. The sport weight yarn of Madelinetosh Pashmina is smooth and delicate. It’s whisper soft blend of merino, silk and cashmere feels like pure luxury. A pretty fish scale pattern adds a lovely texture to the body of the mitts, and the moss stitch cuffs and thumbs are classic.

Pattern Details –

Suggested Yarn
MadelineTosh Pashmina (sport weight)
75% Merino, 15% silk, 10% cashmere
Skein – 360 yards (330m) / 4oz (113g)
For project: approx. 90 yards (82m) / 1oz (28g)
Colorway shown – BegoniaLeaf

Needle
1 pair US2.5 (3mm) 9” circular needles,
Or a set of US2.5 (3mm) double pointed needles
1 set US3 (3.25mm) needles

Gauge
16 stitches & 18 rows per 2 inches
in main stitch pattern. (repeat rows 20-27)

Finished Measurements
3.25in (8.25cm) wide – laid flat
6.5in (16.5cm) long – laid flat
finished weight – 1oz (28g)

Notions
Stitch markers
Darning needle for finishing

Pattern Notes
Knit bottom up and seamless. The mitts are also knit inside out because the star stitch is much easier to make when you’re purling the three stitches together.

Pomme – More Sneak Peeks!


We’ll start releasing our new knitting patterns Saturday! Pomme (French for apple) makes us think of early autumn afternoons, crisp cool evenings, scrumptious foods and a deepening autumnal palette of colors. We hope you’re as excited about this upcoming season as we are!

Maxi Skirt to the MAX

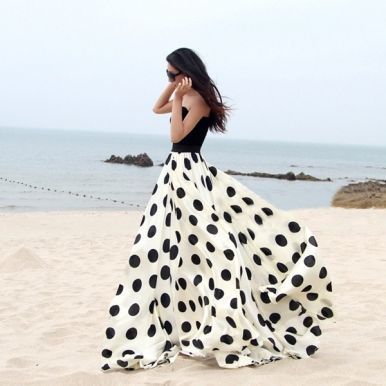
Have you ever spent time browsing Pinterest and all of a sudden someone’s pin catches your attention so fiercely that you are inspired to act on it immediately? That is precisely what happened to me last week. One of my friends posted this and I just had to make it.

d523963041fed96295471aab8dbd64db

Simply, bold and billowy, a fabulous combination!

I’m taking a little trip to the Virgin Islands and thought this would be fantastic piece to pack.

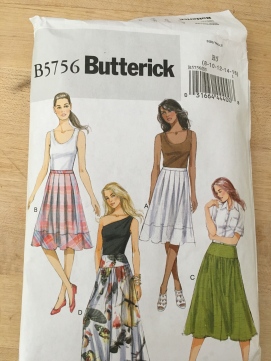
First things first, the pattern. Although the skirt is very simple, I decided to use a pre printed pattern, I didn’t rely have time to figure things out, I wanted to hit the ground running. The skirt in the inspiration photo doesn’t have a drop waist, but I think the drop waist will flatter my body shape more and won’t add bulk around my tummy.

IMG_7442

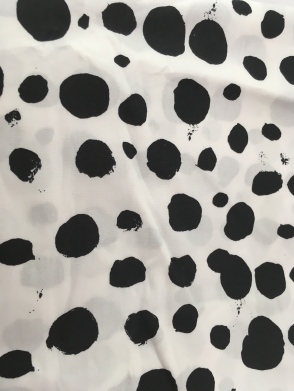
So let the fabric search begin. There are few fabric shops near me and the choices they offer are a limited. I googled large black and white polka dots and began scrolling. I found several fabrics that were almost an exact match, but the weren’t cotton. I wanted cotton because it’s easy to sew with, easy to wash and cool, it’ll be hot under all those yards of fabric.  This is what I decided to go with.

IMG_7407

The fabric is, Art Gallery Avantgarde Tentative Dot Ink, $9.95 per yard

The pattern required a little over 4 yards of 60 inch wide fabric, the fabric I chose was only 43 inches. After looking at how the pattern is laid out on the fabric, it looked like there would be wasted fabric. I went with my first choice, but ordered 5 yards, and thought I’d fudge it if need be.

So, wash and dry fabric, iron fabric, cut out pieces, check, check, check.

After, I’d cut out all the mandatory pieces, I still had a full yard of fabric left. I pinned the front pieces to the top I was wearing so I could gauge the fullness, and after a few photos and texts with Marie, we decided that I should add a half panel to the front and back.

IMG_7423

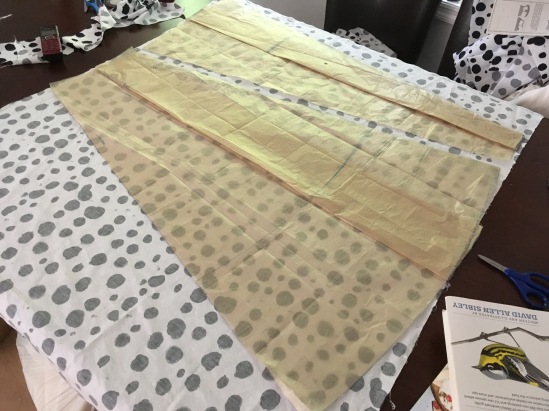
To make  the front panel I folded the folded the patten piece in half along the centre, and then in half again, inverted the fold and smoothed it out. The important thing is to maintain the angels of the sides and the curve along the hem. The back was a little trickier because of the zip. Each back panel had to be a quarter of the original. The folding followed the same principle as the front. I was a little tight, but I managed to get all three pieces from the extra yard.

The pleated, shorter versions of the pattern are designed with pockets, but the maxi isn’t. I love love love pockets and they were a must for me, so I cut those from the fabric scraps left over. I also had to get a little creative when cutting out the front waist band, it wasn’t cut along the grain as suggested.

The sewing part was really easy, and fairly quick, nothing tricky. I did it all within a day. Roll on holiday because I cannot wait the wear it.

-F