Here, for your crafting pleasure, is part two of my little tote embellishment tutorial. If you missed part 1 check it out!
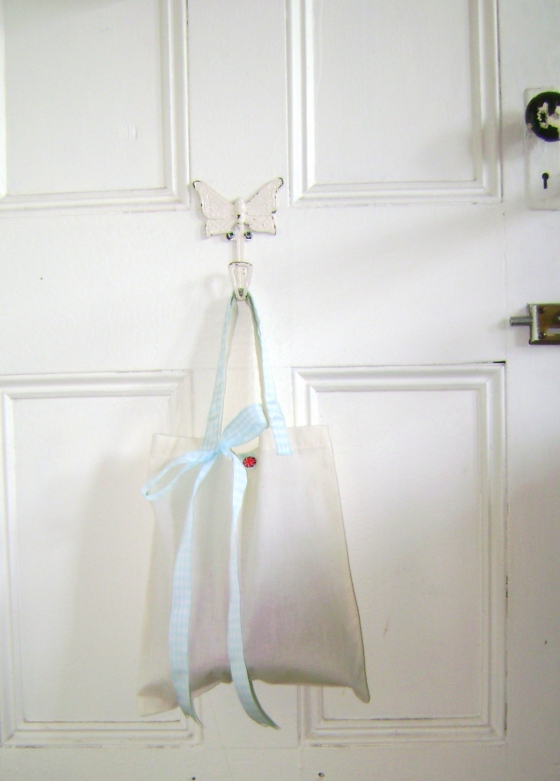
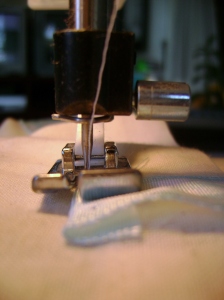 I have already stitched the ribbon to the tote handles, and now I am going to add a little ribbon loop closure with a cute little button, and a pretty bow decoration. Remember you can use any ribbon that you like, but stay away from wired ribbon, it can make the sewing more difficult, and the button choices are, of course, unlimited. If you use a bigger, or a heavy button, remember to cut a felt circle for the inside of the tote, just to provide support. Stitch the button onto the tote with heavier buttonhole thread to keep it on there for a long time. There are few things worse than being separated from a beloved button.
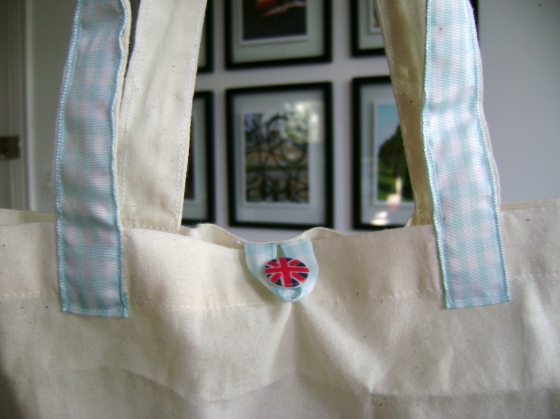
Fold your tote in half to find the middle and stitch your button onto the outside of whichever side you want to be the front.
Now for the closure loop.
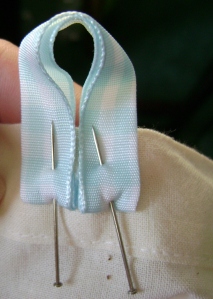
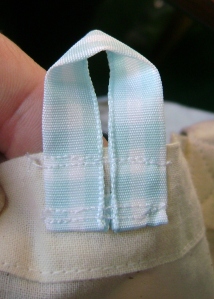
Cut a length of ribbon and fold it in half. The length depends on the size of your button. Make it big enough so that you can easily slip it on and off your button, but make sure its small enough to stay on. Leave a little extra on the ends to fold over for a neat edge. Turn the ends down to make a little loop.
Fold the edges of the ends under and pin it opposite the button on the inside of the tote. Stitch along the bottom first, to secure the turned under edge, and also stitch along the upper edge of the tote. Back stitch for extra strength, tie and trim your threads. Now you are ready to close your tote!
Don’t you LOVE the little Union Jack button? I do. :O)
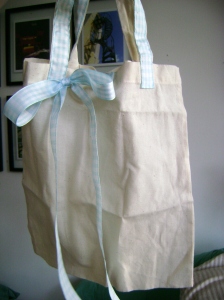
Now lets add a pretty bow!
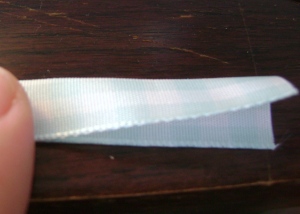
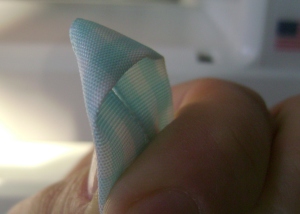
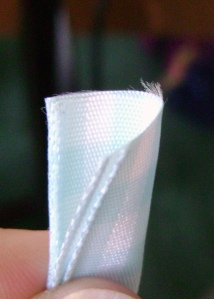
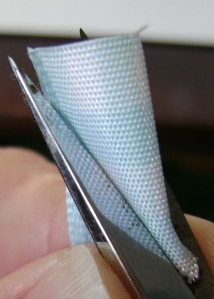
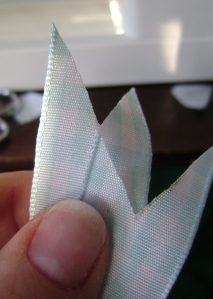
Cut a length of ribbon, long if you want the ends to dangle in the breeze, or short if you just want a bow. Tie it up and tack it to the tote with a needle and thread wherever it makes you happy. I chose the bottom of one of the handles. To make the pretty notched ribbon bottoms, grasp the ends of the ribbons, line them up and fold in half. Figure out how long you want them to be and make your cut there.
Using sharp scissors cut at an angle, starting low on the folded edge and angling up towards the corner of the selvage edge. If you cut them together they will be the same! Easy Peasy!
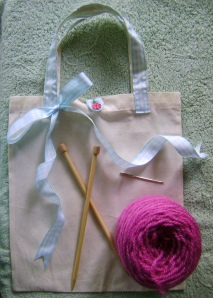
Now your tote is done and ready to be filled with, in this case, all kinds of shiny new knitting goodness. This is what I included in mine…
A freshly wound ball of pretty yarn.
Brand new bamboo knitting needles, perfect for beginners, and a
Darning needle for weaving in ends and finishing.
You could totally go all out and include a needle/stitch gauge, measuring tape, stitch markers, crochet hook… the list goes on an on. How about getting a pattern or a knitting book and everything you would need to complete a project? What a great gift. Happy embellishing!

Pingback: Easy Tote Embellishment Part 1 « FlorrieMarie